You have 0 items in your cart
I have an interesting post today for you about 3D Photo Scanning. I didn’t know much about it, but a guy named Daniel Morrison contacted me about his photo scanned 3D models and it opened up a rabbit hole that I kind of got stuck down! It’s a really fascinating practice and I wanted to put it on your radar, just because it’s so unique and interesting. Basically it’s creating 3D models and textures by taking hundreds of photos of a real object and piecing them together digitally.
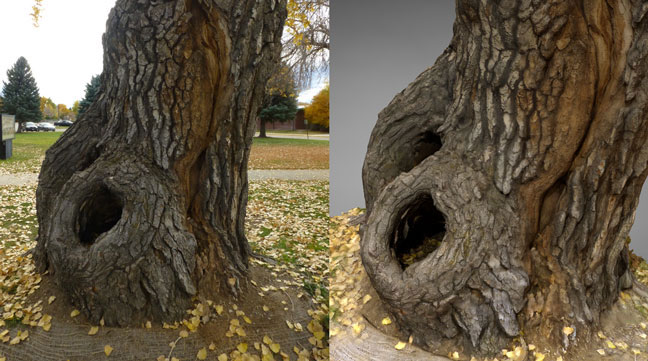
Daniel has a great blog with multiple free C4D models that he has created through 3D photo scanning. He has boulders, planks, rock walls, trees, and even a dragon model that you can download and check out here: remnantstudios.com/out-livin-life
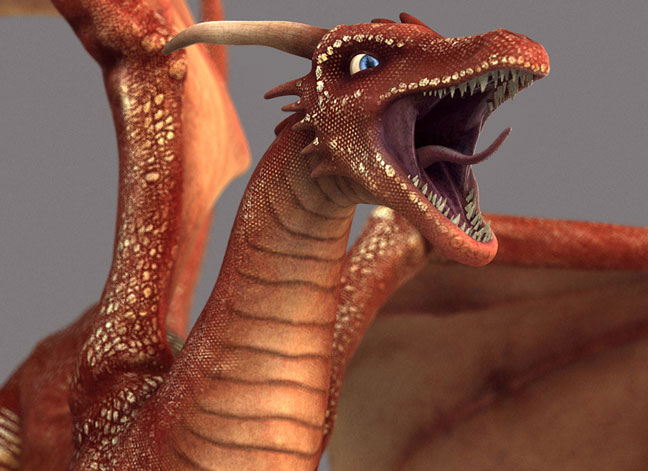
(This dragon is not scanned, fyi, but it’s a free download on Daniel’s site. The dragon is created by Adam Sacco)
Here’s what Daniel has to say about his process:
I shoot on a Samsung NX300 so I can snap 20 MP. I also chose the camera because it has an articulating screen and I found that when I photo scan I often find myself in tight places trying to position the camera out of direct sight of the screen so this helps me immensely. It also has a pairing feature which allows me to see my camera view on my phone and initiate photos from my phone. This is useful when I put the camera on a boom (such as a tripod) in order to get high angle shots. Anywhere from 40-340 photos might go into a single photo scan. Ideally these will be taken under ambient lighting so overcast and cloudy days are my new best friends. I’ll align these images in Agisoft PhotoScan which is rather inexpensive for the Standard Edition. This is where I’ll create a dense point cloud and then generate a detailed mesh. Before creating the texture map I’ll jump over into ZBrush. In ZBrush I’ll decimate the model, UV map it, reproject the high res geometry and then kick that model back to Agisoft. Now I will generate my texture map using the new UV topology I just made. A quick trip through Photoshop to correctly orient my map and also generate a mask from a high pass filter and I’m ready to follow through in ZBrush. I’ll use that high pass filter mask to paint in additional detail in my high resolution model so it looks even more detailed. ZBrush will create the usual displacement and normal maps for me and if I’m all happy with it I GoZ into Cinema 4D.
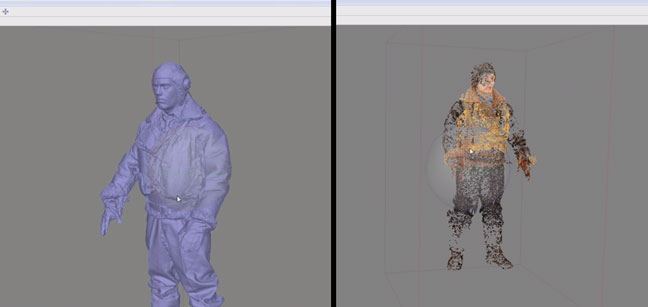
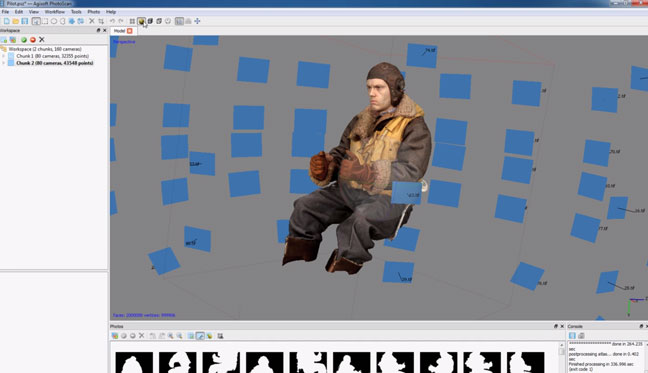
Another great use of this technique is for scanning people to put into 3D scenes. Here’s an incredible project that has done this, and some screengrabs of the process:
(all of these images were created by James Busby at ten24)
Daniel also has a great overview of 3D human scanning here: remnantstudios.com/out-livin-life/the-bleeding-edge-of-3d-character-development
If you’re interested in learning more you can join a great Facebook group for 3D Scanning moderated by Jeffrey Ian Wilson. Jeffrey also has an incredibly in depth tutorial on the process which I will share below:
Anyway, I found this technique very intriguing and have enjoyed learning more about it. Hopefully this post will give you some resources to explore and learn on your own. Let me know what you think and if you decide to try it out yourself!